

Node + Mocha + Travis + Istanbul + Coveralls: Unit tests & coverage for your open source project
02 Sep 2015Unit tests & code coverage metrics make it easier to work with your open source project. It (1) signals to users that the project owner cares about stability, (2) helps contributors feel confident about submitting patches, and (3) makes for easier development in the long run.
There’s a bit of initial setup required, so I’ve compiled the steps into this short guide to get you ready as easily as possible.
Where to put your test files
If you only need a single file of unit tests, name it ./test.js. This is the default file that Mocha looks for.
If it’s already time to split your tests into multiple files, you can make a test/ folder with an index.js file to call the other files, and still conform with Mocha’s default path.
If you want to put your tests elsewhere, you can also specify a path when you run mocha. But why complicate things?
Get mocha to run your tests
If it’s your first time using mocha on this computer, you’ll need to install the mocha global CLI package:
$ npm install -g mocha
Now if your tests are at the default test path you can run your tests with:
$ mocha

Write your tests
Mocha exposes new globals — describe() and it() — to group tests together.
To keep dependencies down, you can use Node’s built in assert module.
Here’s a file of unit tests you can use as an example: dsernst/pythagorean-triples /test.js
Setup $ npm test
A common way to configure your testing suite is to use npm’s built in test command. To do this, add "test": "mocha" to the “scripts” section of your package.json, like so:
  "scripts": {
    "test": "mocha"
  },
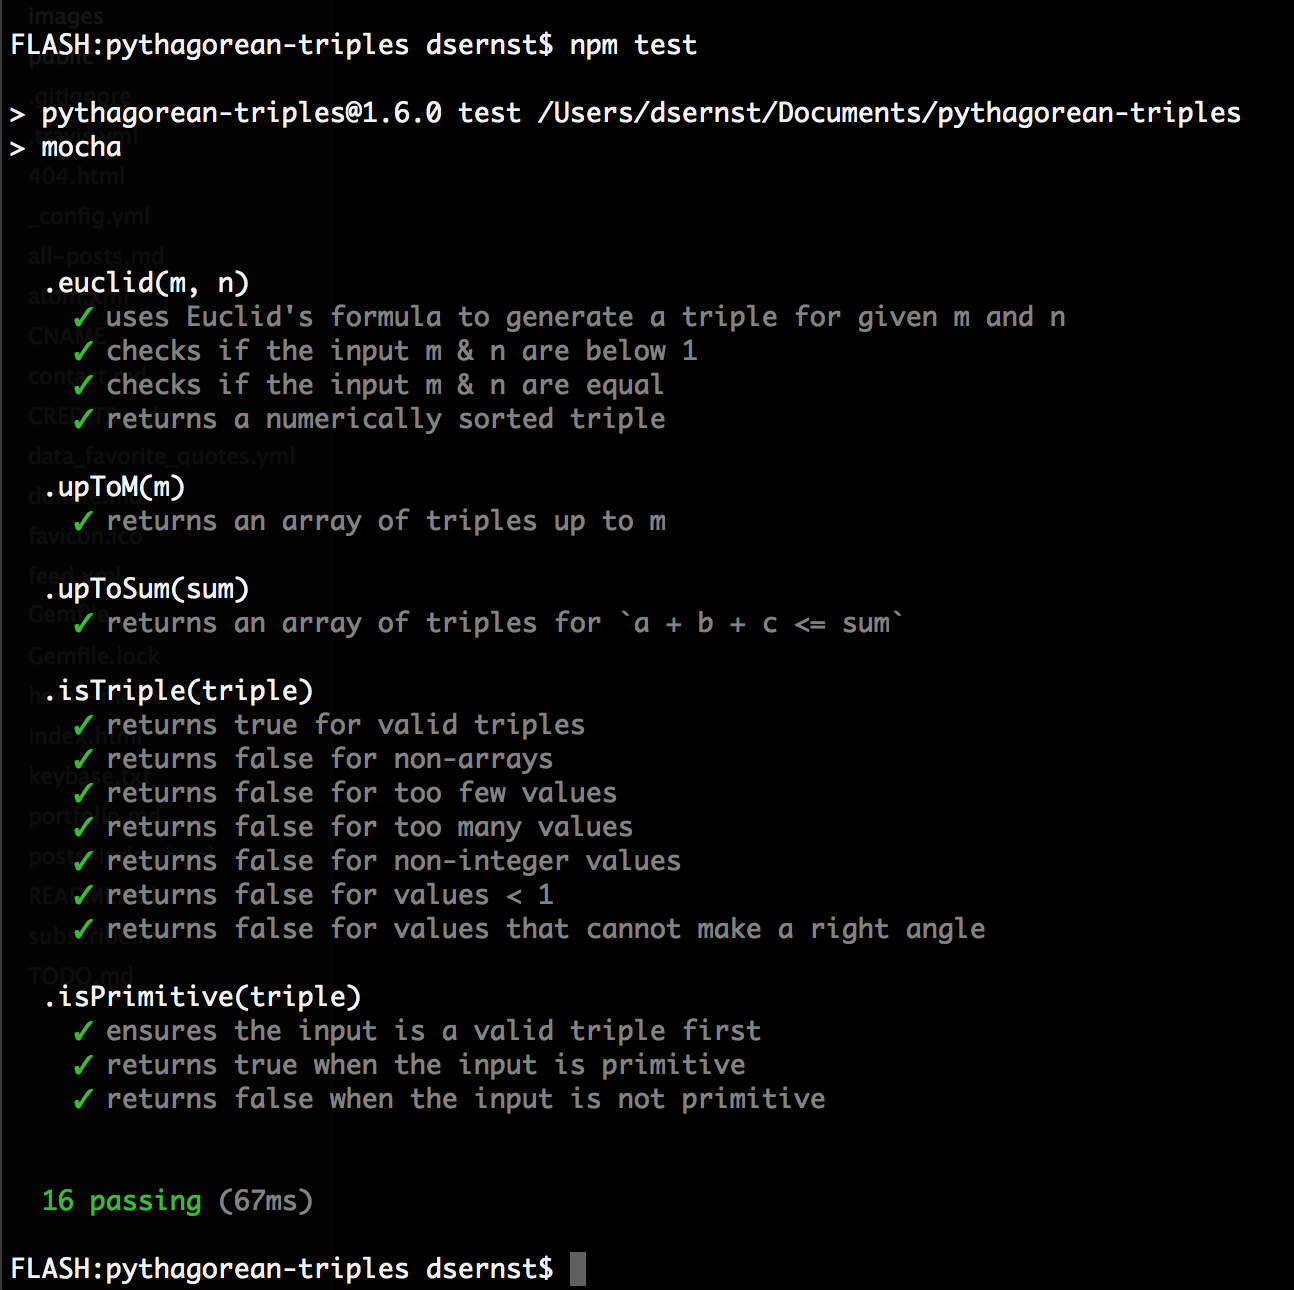
Now $ npm test will run your tests:
Also add mocha as a devDependency, so that it gets installed whenever a user (or build system) runs npm install:
$ npm install mocha --save-dev
Setup TravisCI for automatic builds

TravisCI can run your tests automatically and notify you of any problems. This even works for pull-requests. And it’s free if your repo is public.
Here’s what you’ll need to do:
- Log in to Travis and flick your repo’s switch on.
- Add a basic
.travis.ymlfile for your project:
language: node_js
node_js:
- "stable"
- Push a new version to GitHub.
If you set up the npm test command in the previous step, Travis will use this automatically.
Get code coverage with Istanbul
There are many tools to analyze code coverage, but I find istanbul simple and effective, so that’s what we’ll use here.
First, install istanbul as a devDependency:
$ npm install istanbul --save-dev
We’ll follow the same pattern as before and make an npm run-script for our code coverage. Here’s the script we’ll add:
"cover": "istanbul cover _mocha"
So now your package.json should have both scripts:
  "scripts": {
    "test": "mocha",
    "cover": "istanbul cover _mocha",
  },
There’s one bit of weirdness here: use _mocha instead of mocha. This is because the mocha command runs in a child process, causing istanbul to throw this error:
No coverage information was collected, exit without writing coverage information
But if you use _mocha instead, your tests will be run without a child process, giving us the coverage information we want:

You can now run this anytime with:
$ npm run cover
Adding automatic coverage testing with Coveralls
Coveralls is another free service for public repos. It complements Travis’ testing by publicly reporting your code coverage metrics. It can also be configured to notify you if the coverage goes significantly up or down.
Here’s what you’ll need to do:
- Create an account on Coveralls.io and add your repository.
- Add these two new devDependencies:
$ npm install --save-dev coveralls mocha-lcov-reporter
- Add this line to your package.json "scripts", which pipes istanbul's report over to Coveralls:
"coveralls": "npm run cover -- --report lcovonly && cat ./coverage/lcov.info | coveralls"
- Then add this to your .travis.yml, will tells Travis to update Coveralls automatically after a successful build:
after_success:
- npm run coveralls
- Push a new build to GitHub to see it in action.
Now, whenever a build passes on Travis, it will send updated code coverage metrics to Coveralls.
You can also use the $ npm run coveralls command to update Coveralls locally, but you’ll first need to add a .coveralls.yml file to your project with your repo key. Be sure to .gitignore it to keep it confidential.
Success
Now that you’ve set this all up, you can add badges for your build status and code coverage to your readme, so that your project’s audience know it’s being responsibly maintained.
